
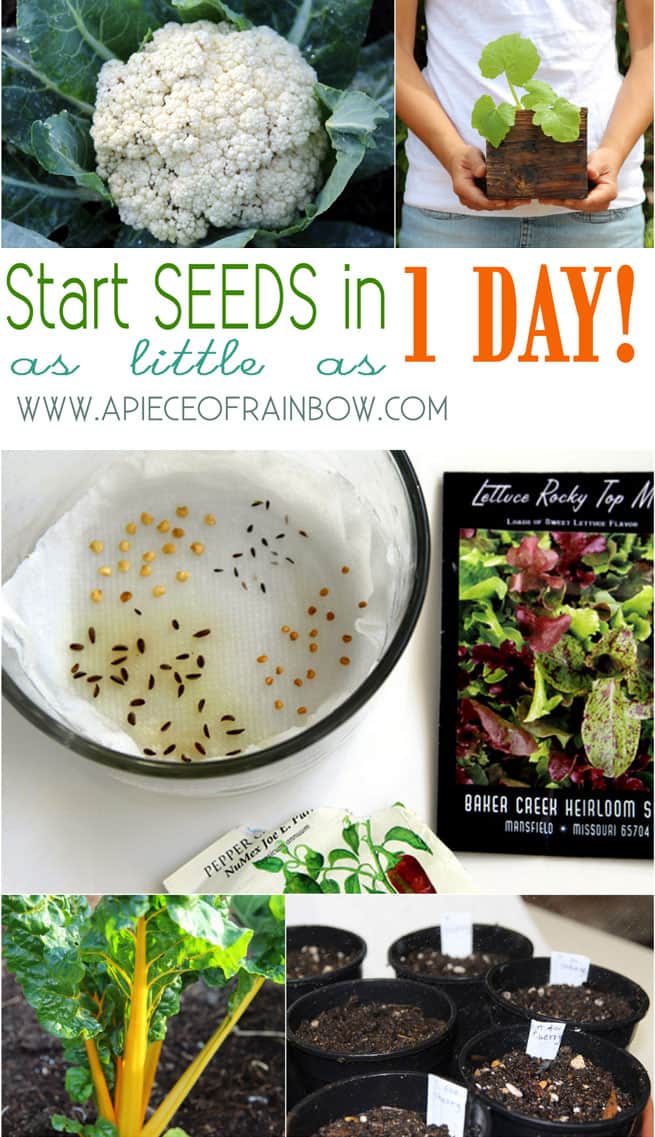
Spring isn’t here yet, but the gardening bug has arrived! Today I want to share a really easy, fast and great way to start seeds, a method we have been using for quite a few years! It reduces the time of seed germination by 70%, and more than doubles the success rate as well!
We discovered this method from an older book- Planning The Organic Vegetable Garden a few years ago. It made such a huge difference, we just LOVE it. I will give you all the details here of when and how to use it, plus some tips we have learned along the way!

This method is called pre-sprouting, or pre-germination in the book. All you need is a plastic or glass container with lid. Clear ones will make it easier to see through, but not required as the seeds don’t need light to send out roots.
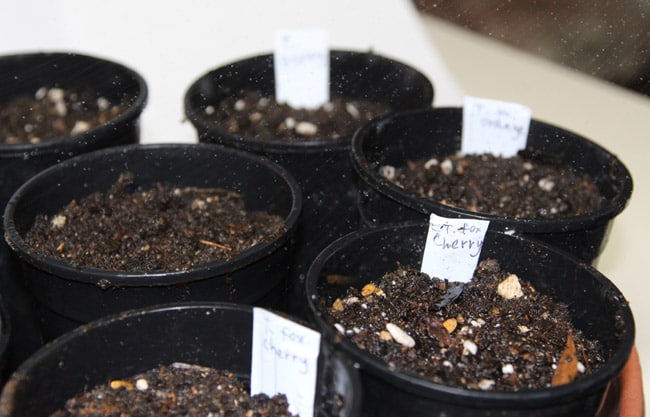
Put a piece of paper towel or white paper on the bottom of the container, add water till the paper towel is thoroughly moist, but no puddles of water. Sprinkle seeds in groups on the damp paper towel, close the lid, and make a note to yourself what type of seeds are where, especially when you have seeds that look identical, for example- broccoli, kale and cauliflower. 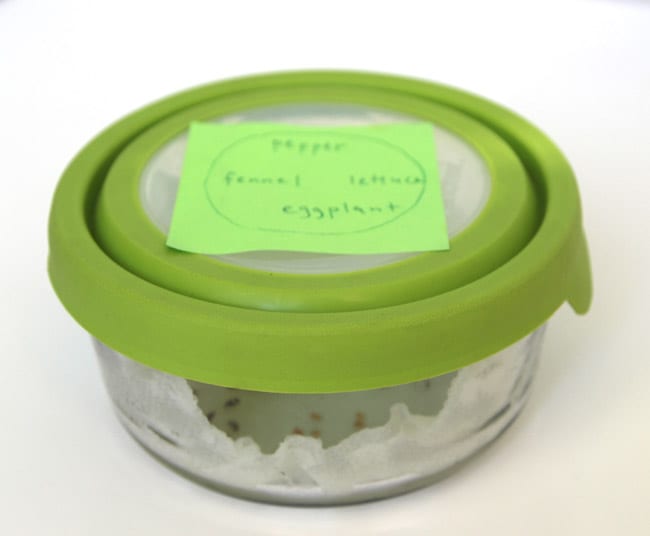
Start checking on them the next day. If the seeds are really fresh, some will germinate in as little as 1 day! The fastest ones include everything in the cabbage family – bok choi, broccoli, kale, cauliflower etc, and lettuce. The slowest ones are pepper, eggplant, fennel, celery, which may take 5+ days. The rest such as tomato, beets, chard, squash, onions, will take about 3 days.

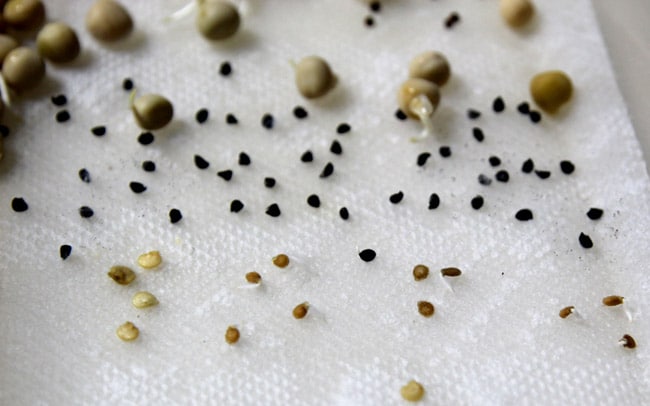
It is important to have pots and soil ready to go. As soon as you see roots coming out, plant them right away. If the roots get too long, it will be hard to separate the roots from the paper towel.
It may seem hard to pick up a tiny seed, but it really is quite easy. you can use a tooth pick, or just your fingers, which is what I do. Plant them at a depth of 1-2 seeds, and gently mistthem daily. We also like to put the pots in saucers and fill the bottom with water till the soil in each pot is saturated, then empty the saucer. It will take a couple of days for the little green leaves to pop out. Now they will need full sun to grow strong and healthy!

Here are a few reasons why we like this method so much-
- Great success rate: Have you ever scatter a whole packet of 300 seeds, just to have 3 plants survive? When we use the pre-sprout method, we sow 12 seeds if we want 10 broccoli plants, because almost all of them will germinate and grow. When we get fresh seeds from a good seed company, the germination rate is almost 100%
- Use up old seeds: If you have seeds that are a few years old, this is a great way to quickly test if they are still alive. We have been able to grow healthy plants from cabbage or tomato seeds that are over 5 years old! If you store seeds in a cool and dry place, some can have quite a long life to them!
- Speed: For example, cabbage seeds take 1-2 days to germinate and another 2 days to leaf out, while it can take 2-3 times longer if sown directly in the soil.

And a few tips & resources:
- We use this method on most seeds, but we sometimes direct sow seeds that grow super easily and super fast, or less attractive to pests, such as arugula, radish, or carrots.
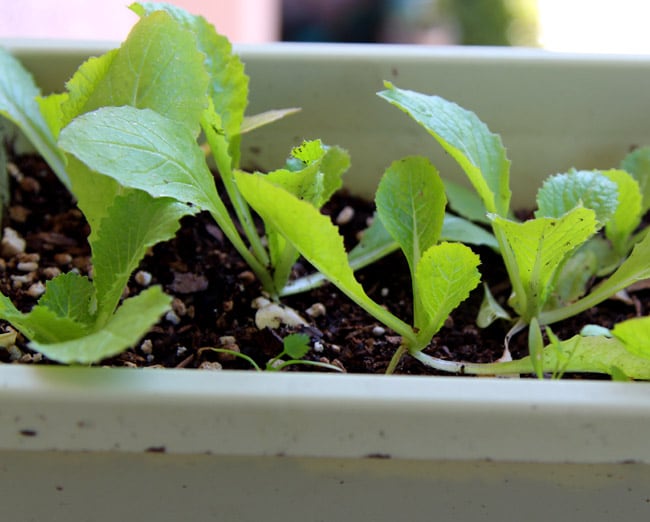
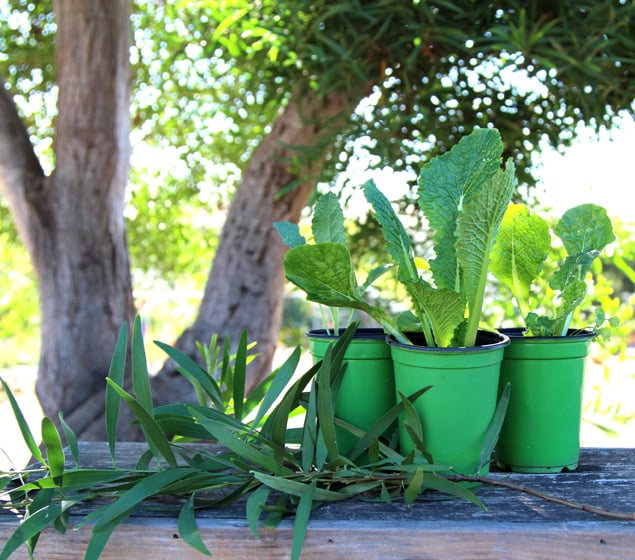
- Although you see seedlings grown in six-packs at nurseries, I think it’s a fantasy because those plants were grown in perfect greenhouse conditions with daily fertilizers. It’s very hard to grow seedlings to that big in a six-pack for home gardeners. We prefer to grow them in 4 inch pots, or a long deep planter like in the above image. This allows the seedling to grow quicker and bigger before being transplanted, so they don’t disappear with one bug bite!
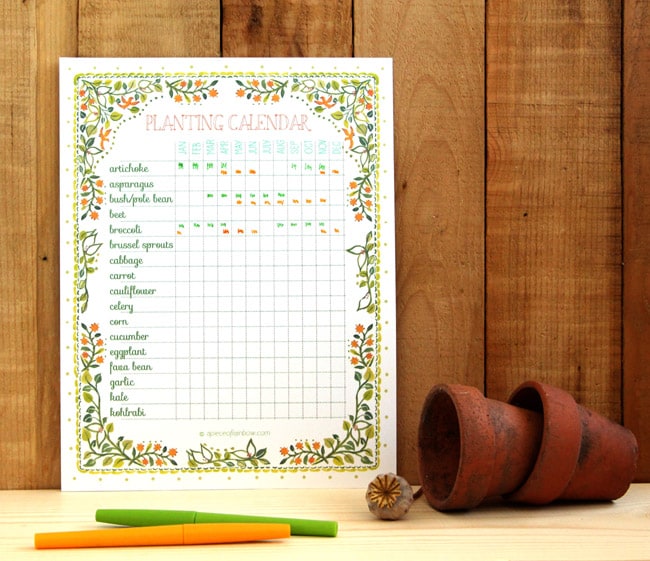
- Have pots and soil ready, because the seeds could start in as little as one day!
- For the first 1-2 weeks, mist the seedlings instead of pouring water on them. They are fragile and can fall over easily!
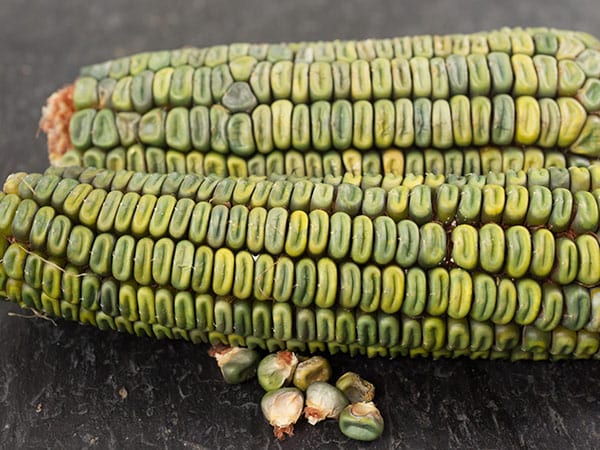
- Our favorite seed companies are Baker Creek Seeds, and Bountiful Gardens, both are started and ran by some great passionate people! Just look at that gorgeous green corn below from Baker Creek, irresistible!
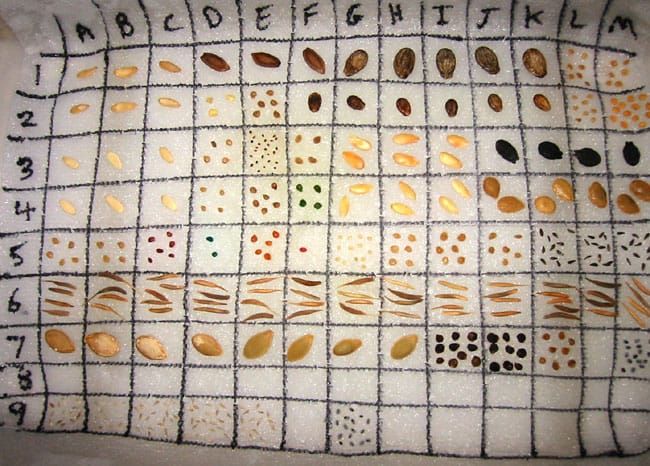
Below is an extreme example of how much we love this method! =)
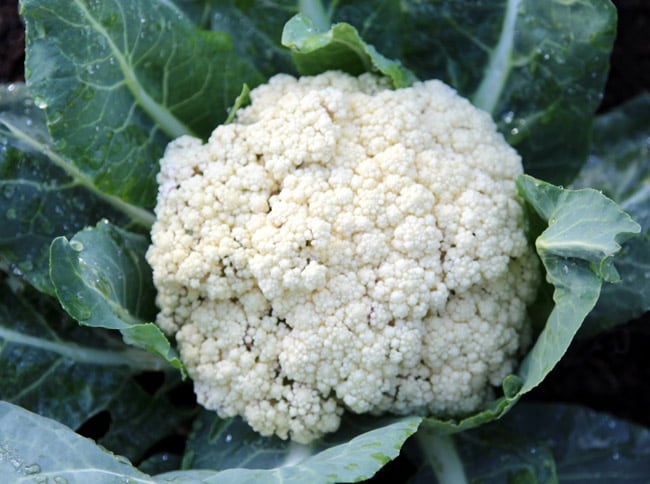
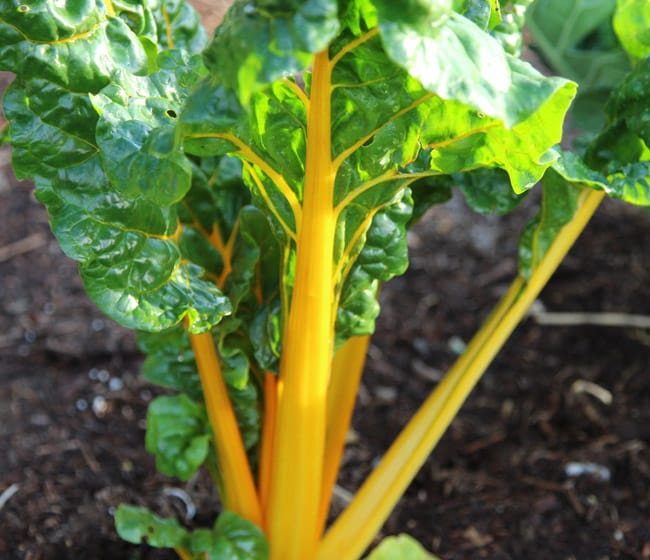
A couple of delicious pics from our garden-

Wish you a beautiful and bountiful garden this spring!
Geen opmerkingen:
Een reactie posten